
Last updated November 2, 2026
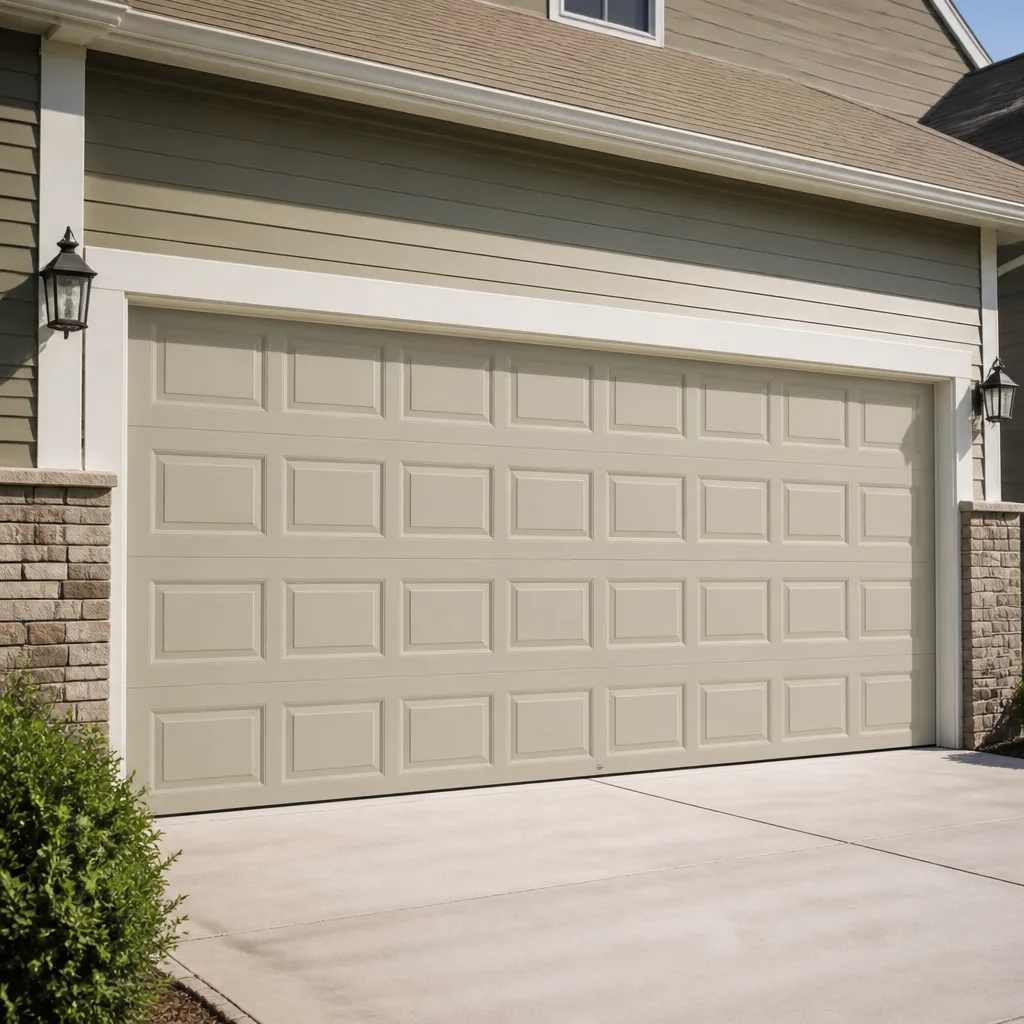 Raised-panel steel
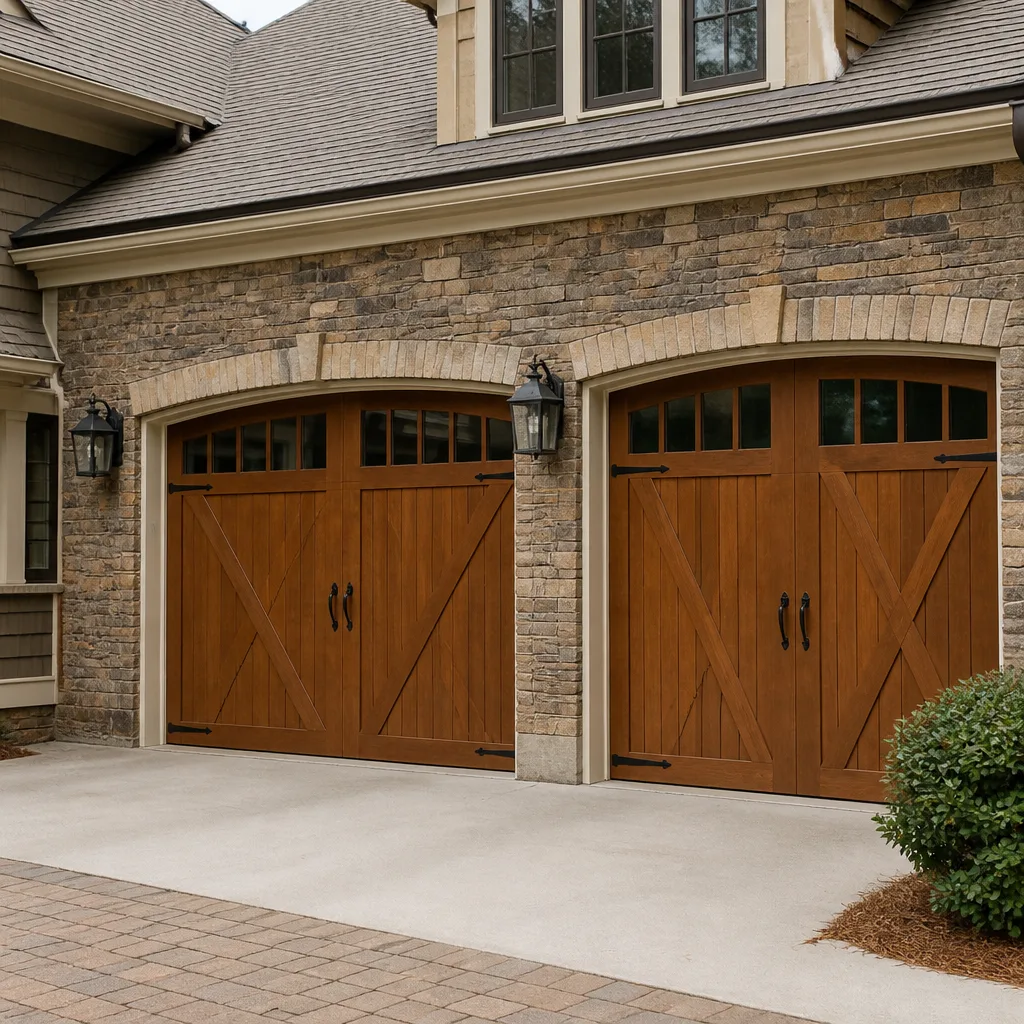 Carriage house
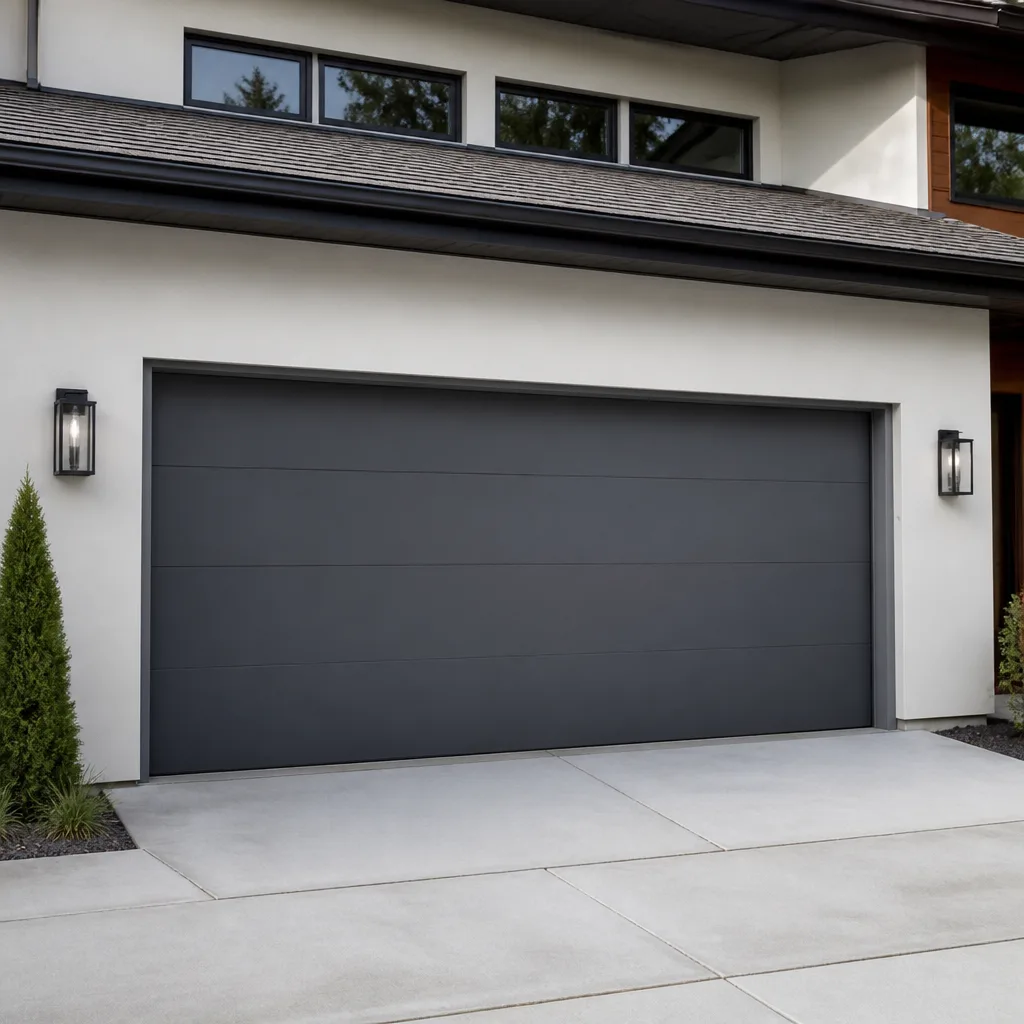 Modern flush
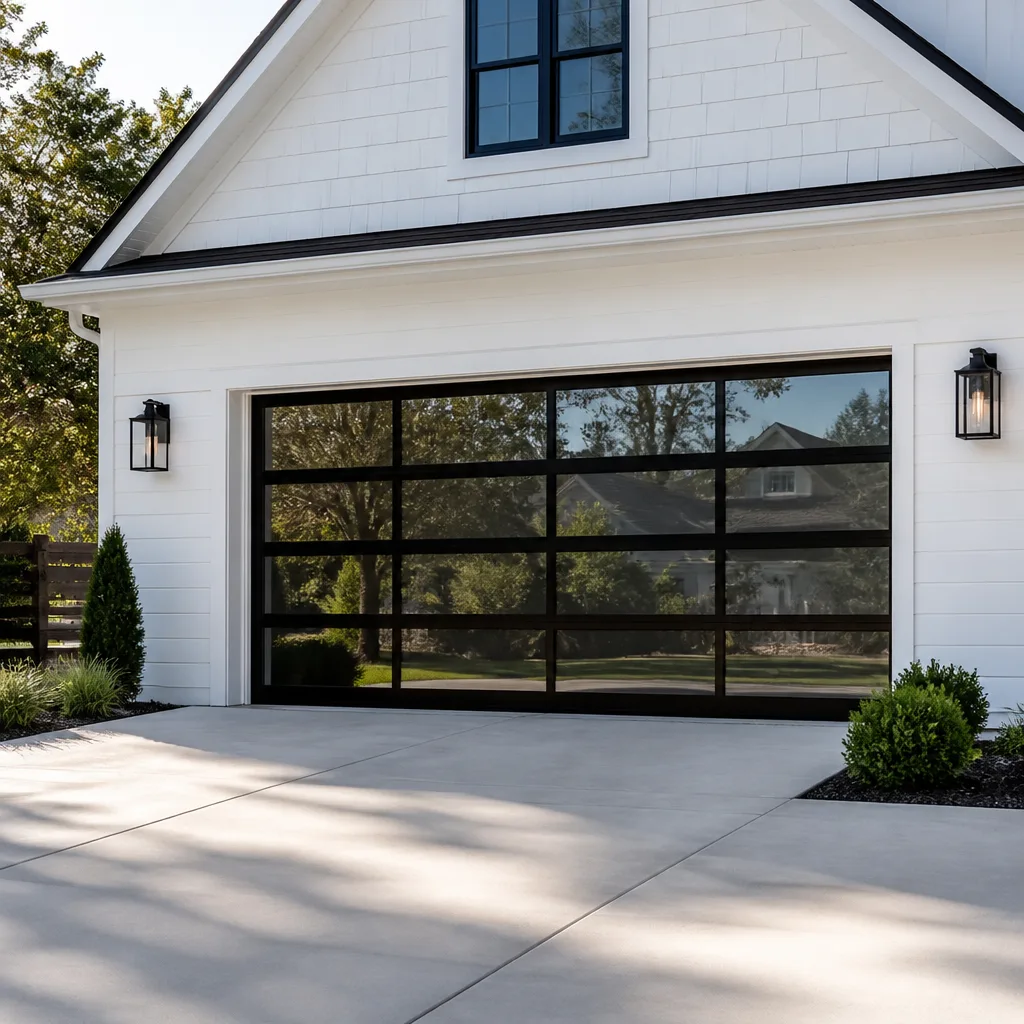 Full-view glass
 LiftMaster openers
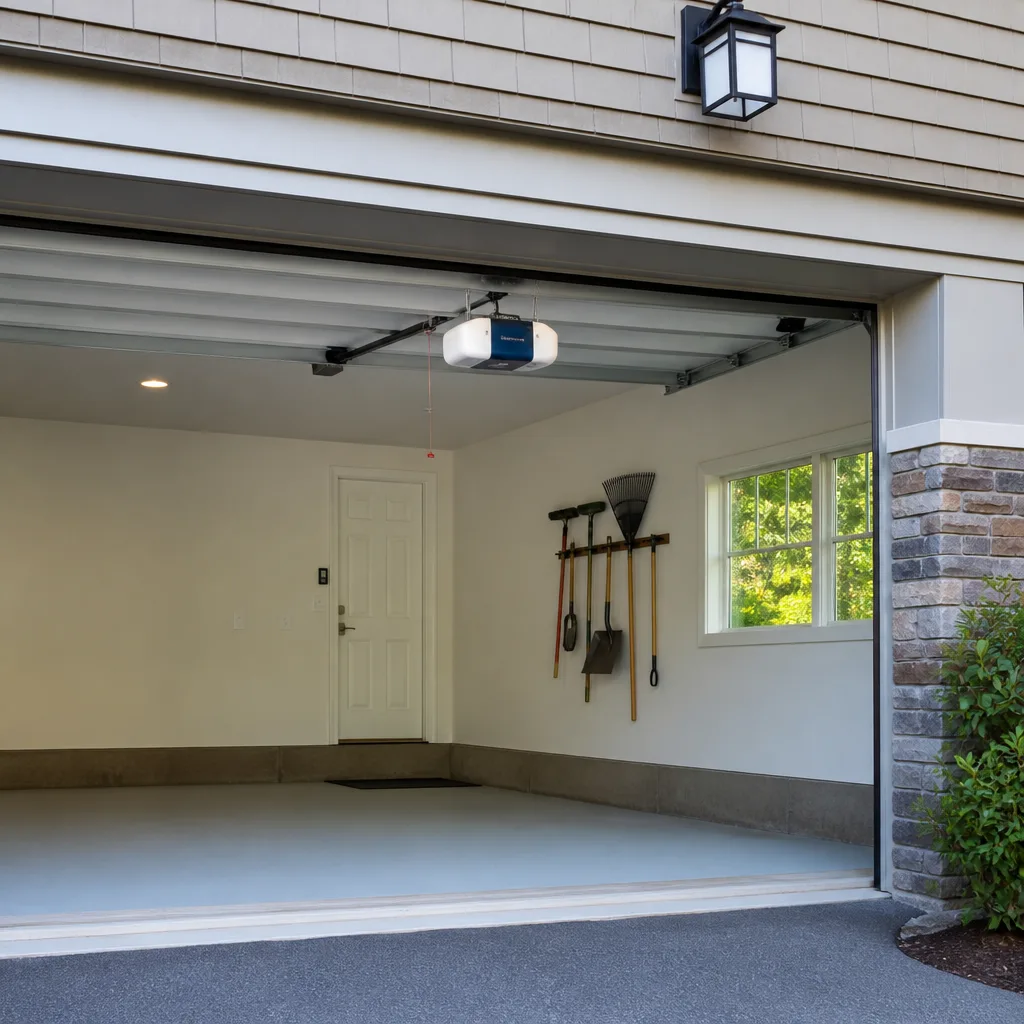 Chamberlain openers
Full 25-point door and opener safety check with every visit - springs, cables, rollers, tracks, and your LiftMaster or Chamberlain opener included
You get a price before we start. It does not change when the truck arrives.
Get your free estimateGarage Door Repair Troubleshooting: Common Problems and How to Fix Them
Most garage door problems come down to two things: a force setting that drifted out of calibration, or a sensor that’s telling the opener something that isn’t true. What surprises Glendora homeowners is how often a $0 adjustment fixes what they assumed was a $400 repair. This guide walks through the real diagnostic process a technician uses, including the blink codes your opener is flashing and what they actually mean. You’ll learn what’s safe to check yourself, what you should never touch, and when the right move is calling our Garage Door Repair services.
Styles & brands we work with
- Raised-panel steel
- Carriage house
- Modern flush
- Full-view glass
- LiftMaster openers
- Chamberlain openers
Quick Answer
Garage door troubleshooting starts with three checks in order: confirm the opener has power and isn’t in lock mode, read the LED blink code on the motor head and compare it to your brand’s diagnostic chart, and visually inspect the springs, cables, and track for obvious damage. About 60% of the calls we run in Glendora resolve with a force or limit adjustment or a sensor alignment fix. If the spring is broken or a cable has slipped off the drum, stop and read Garage Door Warning Signs: A Glendora Homeowner’s Reference Guide before calling a professional.
Table of Contents
- Opener Won’t Respond: Remote, Wall Button, or Both
- Door Reverses Before Hitting the Floor: The Four Root Causes
- Reading the Blink Codes: LiftMaster, Chamberlain, Genie, and Craftsman
- Door Opens Slowly or Makes a Grinding Sound
- Door Is Off Track or Sits Crooked
- How to Test Spring Tension and Cable Integrity Safely
- The Three-Minute Force and Limit Adjustment
- Go/No-Go: What You Can Fix vs. What Needs a Technician
- Common Mistakes to Avoid
- When to Call a Professional
- Frequently Asked Questions
- The Bottom Line
Opener Won’t Respond: Remote, Wall Button, or Both
When nothing happens and you press the remote or the wall button, the first thing to determine is whether the opener itself has power. Check if the LED on the motor head is lit. If it’s dark, the opener may be unplugged, tripped a GFCI outlet, or blown a fuse on its circuit board. In Glendora homes built before 1990, we often find openers plugged into an outlet shared with other garage circuits, which trips more often than homeowners expect.
- Check the wall button. If pressing the wall button works but the remote doesn’t, the problem is the remote, not the opener. If neither works, the issue is the opener itself.
- Look for lock mode. Many LiftMaster and Chamberlain openers have a lock button on the wall control. When engaged, remotes are ignored. The wall button will flash or beep. Hold the lock button for two seconds to toggle it off.
- Verify power flow. Unplug the opener, wait 10 seconds, plug it back in. If the LED doesn’t light, test the outlet with a lamp or a voltage tester. Reset any tripped GFCI.
- Check the safety sensor circuit. A short in the sensor wiring can cause the opener to appear dead. Disconnect the sensor wires at the motor head, then try the wall button. If the opener responds, the issue is in the sensor wiring.
Genie and Craftsman openers without an LED on the motor head may have an external receiver module for remotes. If the wall button works and the remote doesn’t, open the receiver cover and check for a lit indicator. A dead receiver means the remote signal isn’t being processed at all. If this is your situation, our garage door opener repair team in Glendora can diagnose whether it’s the receiver, the transmitter, or the logic board in about 20 minutes.
Door Reverses Before Hitting the Floor: The Four Root Causes
When a door starts closing and then reverses as if it hit something, homeowners immediately blame the sensors. Sometimes it is the sensors. But this symptom has four distinct causes, and swapping parts before identifying the right one is expensive.
- Photo eye misalignment. The sending eye and receiving eye must point directly at each other. A bump from a broom, a bike, or seasonal concrete shift in Glendora’s expansive clay soil knocks them out of line. The receiving eye’s LED turns off or flickers. This is the most common cause and the easiest to fix.
- Broken or slipping cable. If a cable has jumped the drum or a strand has snapped, the door tilts slightly on the way down. The opener’s force sensor interprets the tilt as an obstruction and reverses. This is mechanical, not electrical. You’ll usually see a small gap between the cable and the drum on one side.
- Limit setting drift. The down-limit tells the opener where the floor is. If the limit drifts past the floor position, the opener thinks it’s closing too far and reverses. This often happens after a power outage or after the door is bumped while closing.
- Force sensitivity set too high. The force adjustment controls how much resistance the opener will tolerate before reversing. If it’s set too sensitive, normal friction on a cold morning or a slightly stiff track triggers a false reversal. Glendora’s temperature swings between summer and winter nights change how the door moves more than most people realize.
Here’s the test that separates these four causes. Close the door with the wall button while watching the sensors. If the door reverses and the sensor LED was blinking at that moment, it’s the sensors. If the LED was solid, watch the cables next. If the door sags on one side before reversing, it’s mechanical. If neither is obvious, the limit or force setting is the suspect. Fixing the wrong one means you’ve replaced a perfectly good sensor and the door still reverses.
Reading the Blink Codes: LiftMaster, Chamberlain, Genie, and Craftsman
Modern openers flash an error code through the main LED on the motor head or the wall button. The blink sequence tells you exactly what the opener thinks is wrong. Here’s what the most common LiftMaster and Chamberlain codes mean, along with the equivalent Genie and Craftsman patterns. This is the same chart our Garage Door Service Glendora home technicians use when they run a diagnostic.
- LiftMaster and Chamberlain: 1 blink. Sensor wire shorted or disconnected. Check the wiring at both sensors and at the motor head for a loose staple piercing the insulation.
- LiftMaster and Chamberlain: 2 blinks. One sensor has reversed its wiring polarity. If you recently spliced a sensor wire, swap the white and striped leads.
- LiftMaster and Chamberlain: 4 blinks. Sensor obstruction or misalignment. The receiving eye isn’t seeing the sending eye.
- LiftMaster and Chamberlain: 5 blinks. Motor overheated. This often happens after repeated open-and-close cycles in a short window. Let the opener cool for 15 minutes before checking again.
- LiftMaster and Chamberlain: 6 blinks. Logic board failure. This one is a replacement part, not a repair.
- Genie: Up arrow blinking twice. Safety beam obstruction or misalignment.
- Genie: Up arrow blinking four times. Force setting trip. The door encountered unexpected resistance.
- Genie: Red LED blinking five times. Motor failure or logic board failure on some ChainMax models.
- Craftsman: LED on the motor head blinking 4 times. Sensor misalignment, same as Chamberlain’s 4-blink code.
- Craftsman: LED blinking 10 times. Door won’t stay closed. This is usually a limit or force calibration issue, not a sensor issue.
In our experience, LiftMaster 8500 and 8550 models installed in Glendora garages flash 4 blinks for misalignment more than any other code, simply because these shaft-mounted openers sit beside the door rather than overhead and their sensors are more easily bumped. Chamberlain B2405 openers, common in newer Glendora tract homes, flash 1 blink when the stapled sensor wire has been damaged by vibration. Knowing your model and reading the code before calling saves you a service fee just for the diagnosis.
Door Opens Slowly or Makes a Grinding Sound
A door that opens slower than it used to, or that sounds like it’s dragging gravel through the track, is telling you something specific. The two main suspects are the opener’s drive system and the door’s mechanical track.
Grinding or metal-on-metal noise from the opener head usually means the drive gear is wearing out. On LiftMaster and Craftsman models built before 2010, the white plastic gear inside the opener housing strips against the worm gear and makes a grinding sound while the door barely moves. On Genie ChainMax openers, a low rattle means the chain needs tension or the sprocket is worn. On belt-drive Chamberlain units, a moaning sound points to a failing pulley bearing.
Slow movement without noise often means the door’s balance is off and the opener is working harder than it should. When a spring loses tension, the opener compensates by pulling more weight. It might still move the door, but slowly, and the motor will fail years earlier than it should. A properly balanced door should hold its position about three feet off the ground when disconnected from the opener. If it drops or climbs, the spring tension is wrong.
Track problems also show up as slow or jerky movement. Rollers that haven’t been lubricated in years drag against the track. A track that took a hit from the car bumper or a ladder pinches the roller path. In Glendora, dust from the foothills settles into track lubricant and turns it into a gritty paste that actually increases friction instead of reducing it. If you’re seeing slow movement and you can’t remember the last time the rollers were cleaned and oiled, that’s the likely culprit. For persistent noise or slow operation that doesn’t resolve with basic maintenance, our garage door repair service in Glendora can isolate whether the problem is in the opener head, the spring system, or the track in a single visit.
Door Is Off Track or Sits Crooked
Once a door is off its track, every cycle you run makes the damage worse. The rollers wedge harder, the panels bend at the hinges, and the cables pull unevenly on the drums. This is the point where we stop and say it plainly: do not try to force the door back onto the track manually.
A door can come off its track for a few reasons. Most often, the door was hit while in motion. A car bumper taps the bottom panel, the door flexes, and the rollers pop out of the curved section. The second most common cause is a broken or stretched cable that allows one side of the door to rise faster than the other, tilting the door until the rollers lose their seating. A roller with a worn bearing can also walk sideways in the track and force itself out.
What you can do safely while waiting for a technician:
- Disconnect the opener. Pull the emergency release cord so the opener won’t cycle again and compound the damage.
- Do not use the remote. Treat the door as inoperable until it’s inspected. Even if the wall button moves it an inch, that inch can pull a cable completely off its drum.
- Look at the gap pattern. If the gap between the door edge and the track is wider at the bottom than at the top, the track itself is likely bent or its fasteners pulled loose from the wall.
In Glendora garages on slab foundations that shift seasonally, we see track brackets working loose from the wall more than in newer construction with straighter slabs. The door hangs fine until one season’s movement changes the alignment enough to let a roller slip. Tightening or replacing the bracket and re-seating the rollers is a standard repair, but the door must be supported properly while the track is loose or you risk a cable releasing under tension.
How to Test Spring Tension and Cable Integrity Safely
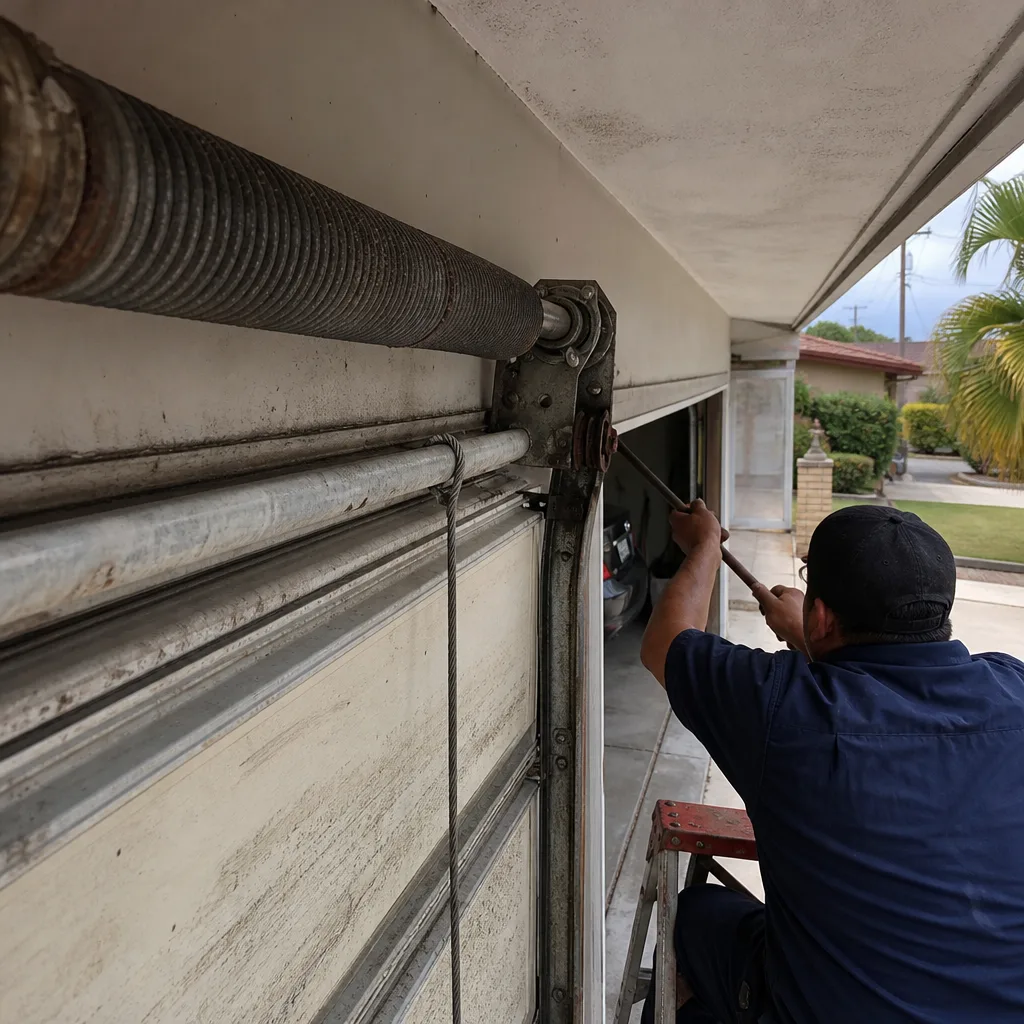
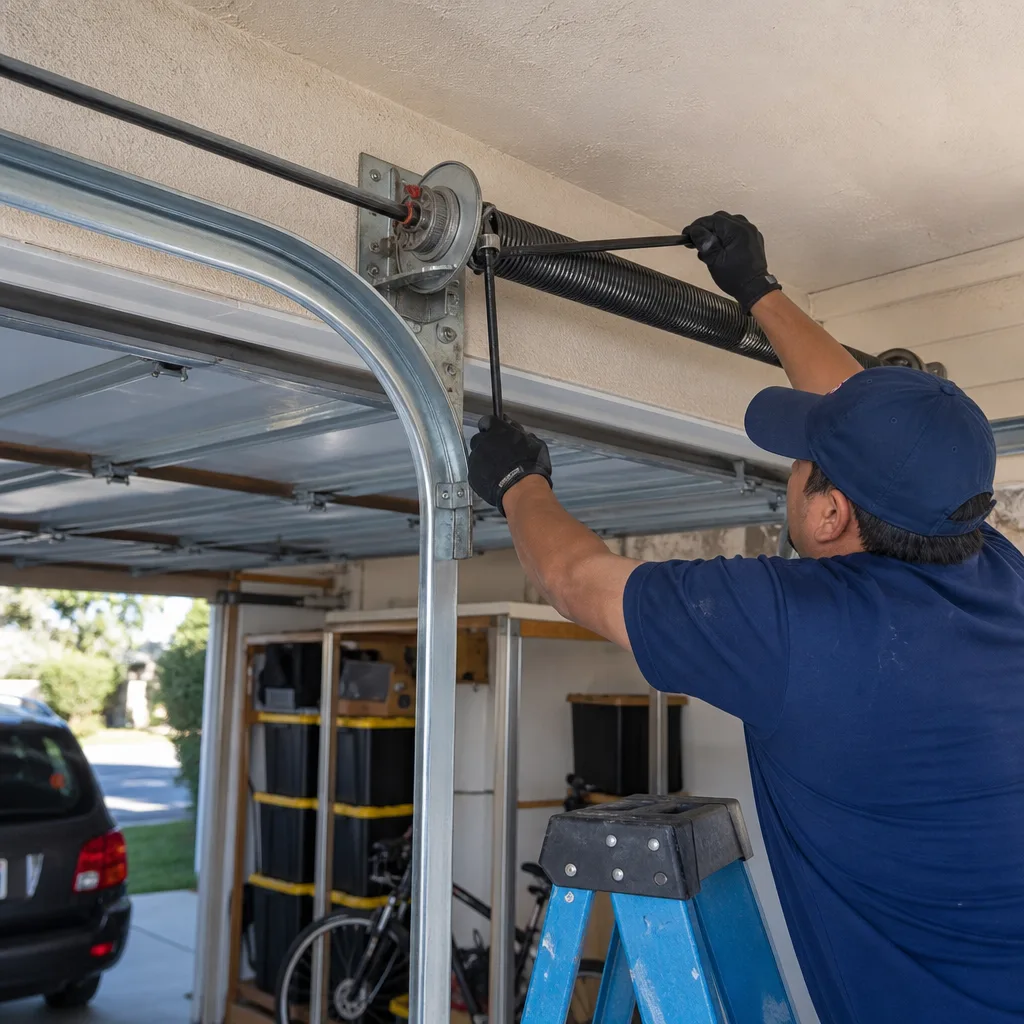
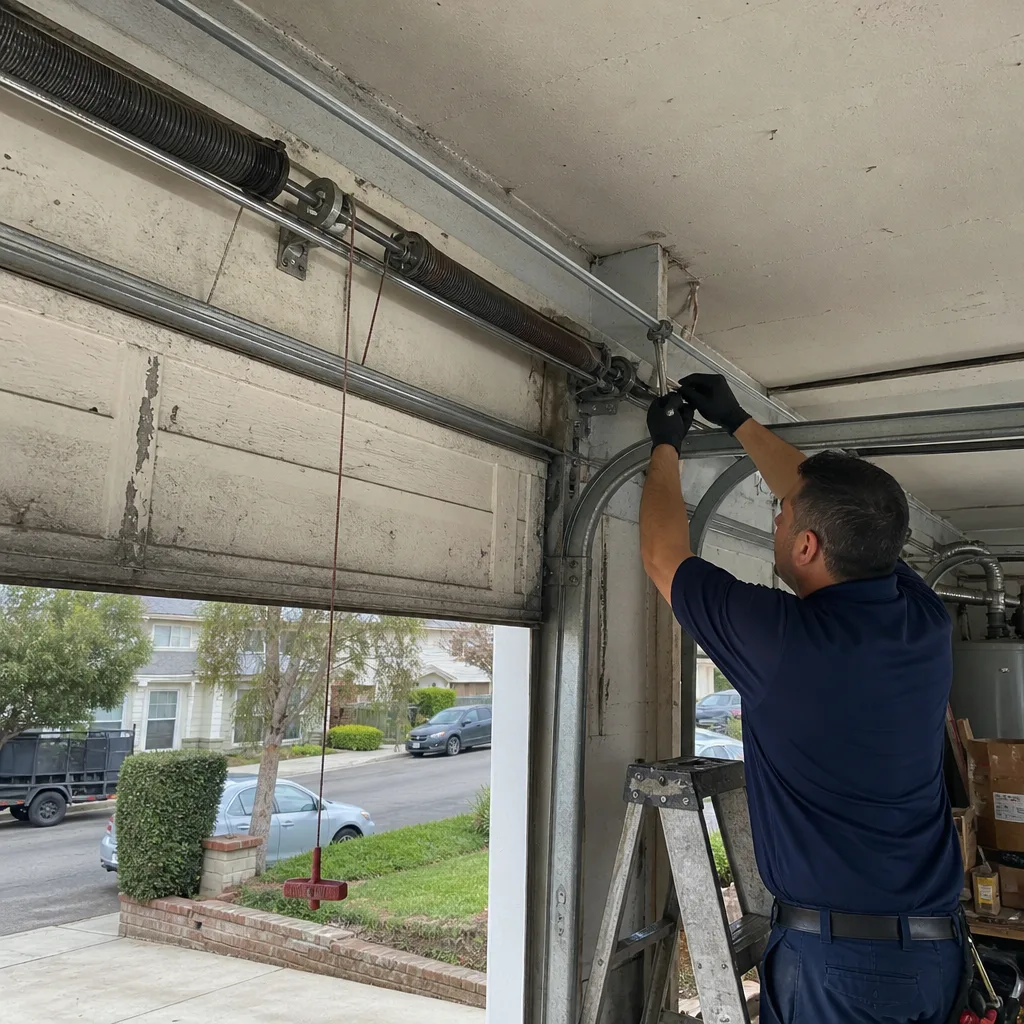
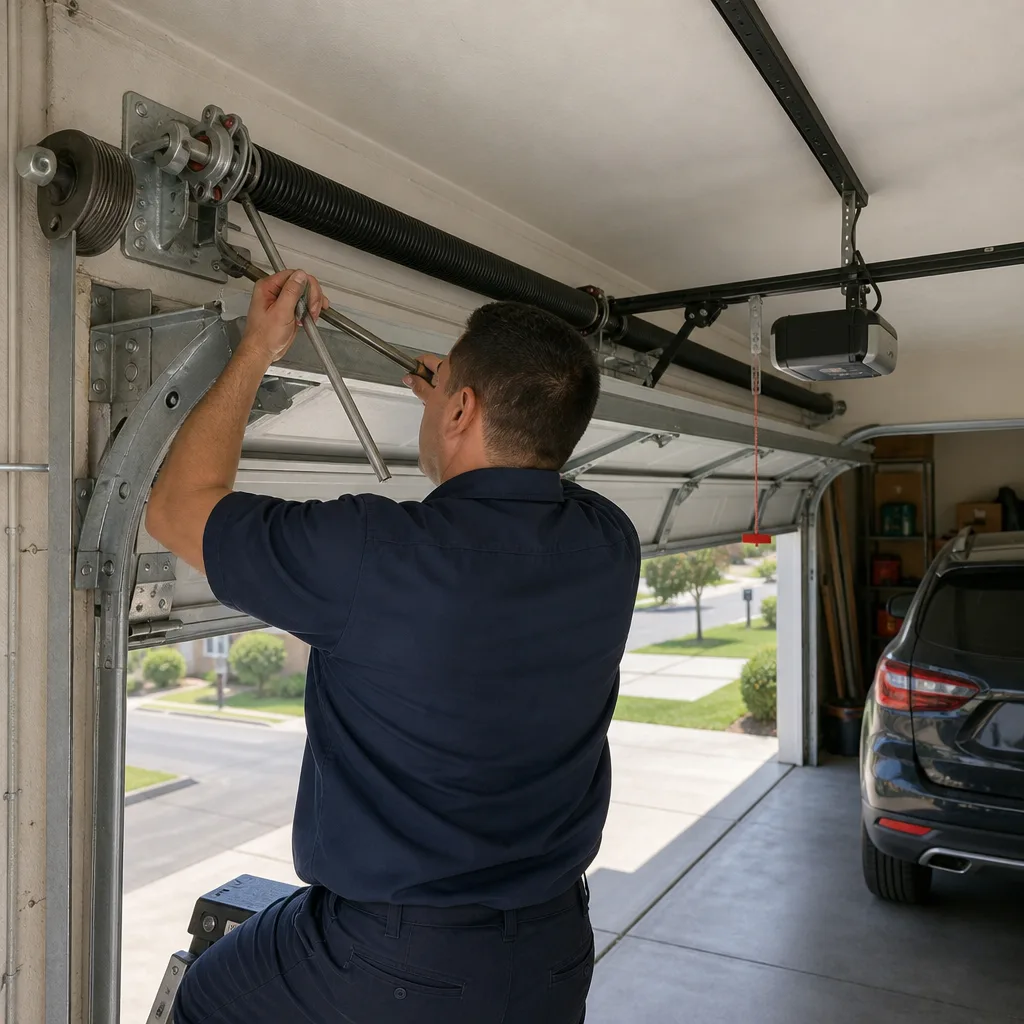
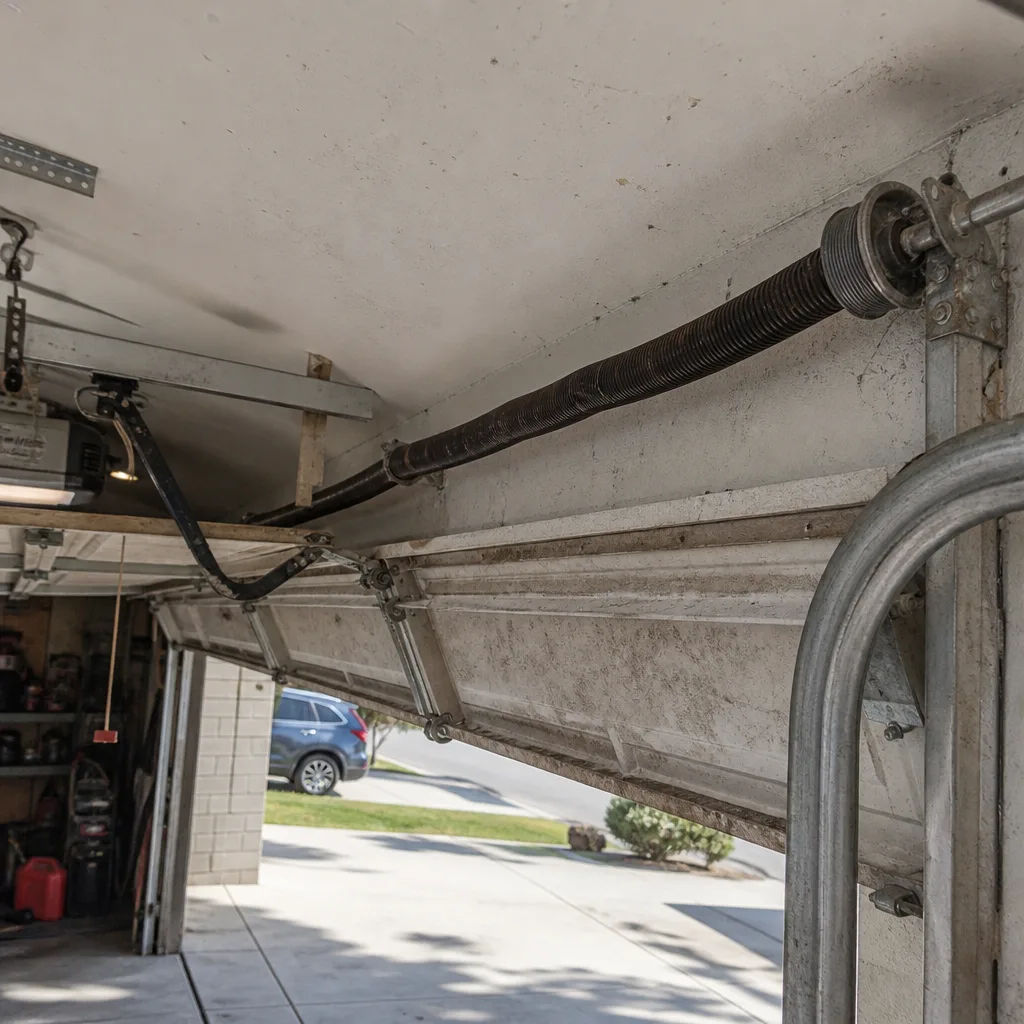
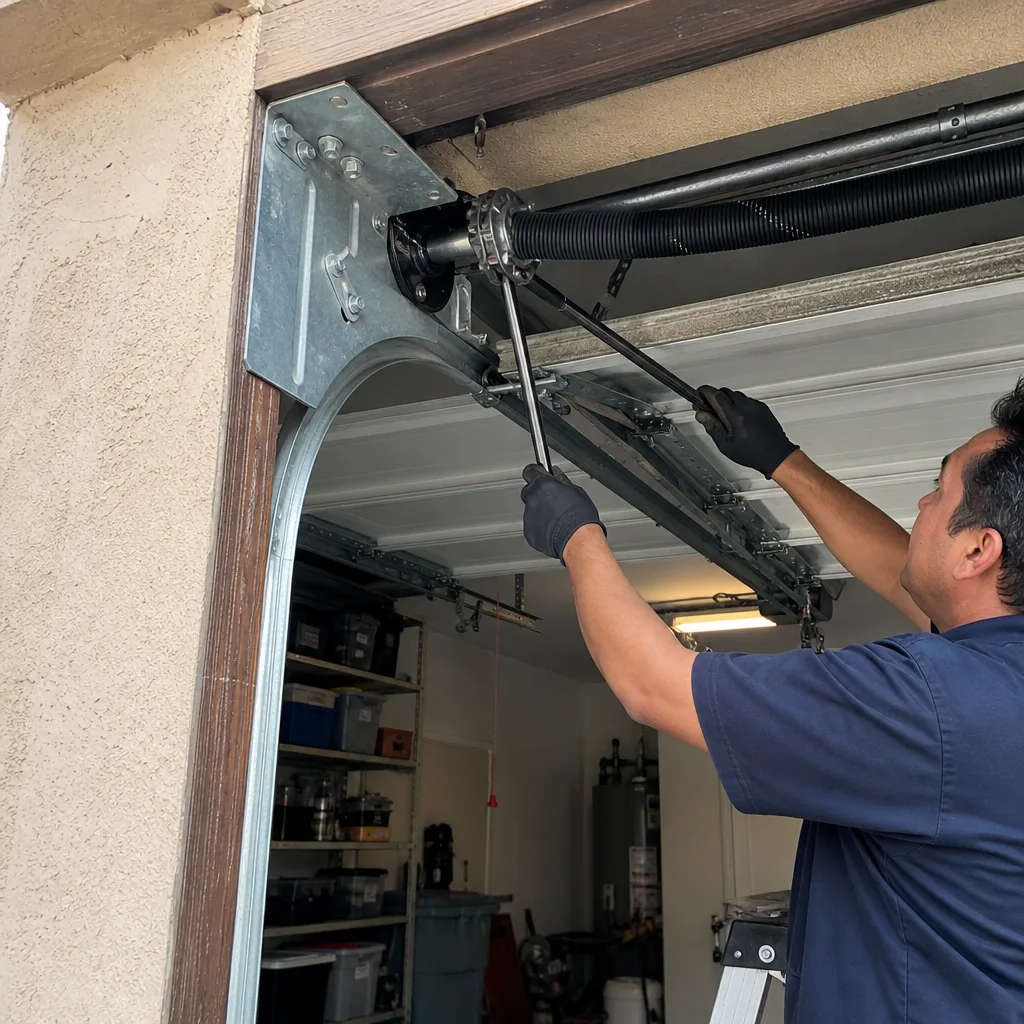
Torsion springs on a sectional garage door are under enough tension to cause serious injury if mishandled. We’re going to describe how to evaluate them visually and how to test door balance without touching the spring hardware. If a spring is broken, call a professional. This is not a DIY replacement.
Visual spring check:
- With the door closed, look at the torsion spring above the door and the cables running down each side. A broken torsion spring shows a visible gap between the two halves of the coil. You’ll often see this gap right in the center of the spring.
- For extension springs running along the horizontal track, a broken spring hangs freely in two pieces or has a stretched segment that no longer returns to its original coil shape.
- Check the cables for fraying. On Wayne Dalton and Raynor doors that use a torsion cable system, a frayed cable is the warning sign that the cable will snap soon. If you see loose strands, do not cycle the door.
Balance test without touching the springs:
- Disconnect the opener using the emergency release cord. The door should now move freely by hand.
- Lift the door to about three feet off the floor and let go. A properly balanced door stays put or drifts very slowly. If it drops hard, the springs are weak or broken. If it climbs, the springs are over-tensioned.
- Lower the door gently by hand and reconnect the opener by pulling the release cord again or running the opener until it re-engages.
If the door slams down during the test, the spring system is not holding tension. Every cycle after that risks damaging the opener’s gear, the cables, and the door panels. On Glendora homes with 16-foot doors, a door with weak springs weighs up to 200 pounds. That’s the reason this is where the DIY portion of troubleshooting ends and the professional portion begins.
The Three-Minute Force and Limit Adjustment
When the blink code points to a limit or force issue, and the springs and cables check out, the fix is usually a screwdriver adjustment through the opener’s control panel. Here’s the sequence we run on LiftMaster, Chamberlain, and Craftsman openers, which share the same adjustment logic.
- Find the adjustment controls. On the motor head, look for two dials, usually blue or white. One is labeled UP, the other DOWN. On newer LiftMaster models, these are inside a flip-down panel.
- Set the down limit correctly. Press the wall button to close the door. If it stops short of the floor or reverses, turn the DOWN dial one quarter-turn in the minus direction. Repeat until the door closes fully and presses firmly against the floor with the rubber seal compressing evenly.
- Set the force. This is the smaller dial or a separate setting on the wall console. Turn it down one increment, then run the full close cycle. Keep lowering the force in small increments until the door reverses on its own, then raise it back up one increment. That’s the calibrated setting for your door’s actual friction.
- Test the safety reversal. Place a roll of paper towels under the door and close it. The door should reverse when it contacts the roll. If it doesn’t, the force is set too high and you need to back it off.
On Genie ChainMax openers, the limit switches are inside the opener housing and require removing the cover. The adjustment procedure is similar, but the switches are mechanical levers rather than dials. If you’re not comfortable working inside the opener housing, this is a five-minute adjustment for a technician. And here’s the detail most guides skip: if your door passes the paper towel test but still reverses on cold mornings, the issue is track friction from temperature and dust, not the force setting. Lubricating the rollers and hinges with a solvent-free garage door lubricant often fixes it without any further adjustment.
Go/No-Go: What You Can Fix vs. What Needs a Technician
This is the decision matrix we use with every Glendora homeowner who calls us. Read the symptom, identify the likely cause, and decide which side of the line you’re on.
Safe to handle yourself:
- Sensor alignment (no tools needed, no risk).
- Force and limit adjustment via existing dials.
- Remote battery replacement and reprogramming following your manual.
- Lubricating rollers, hinges, and the track using a garage door lubricant, not WD-40.
- Clearing debris blocking the door path or the sensor beam.
Call a technician the moment you identify:
- A broken or visibly stretched spring.
- A frayed cable or a cable off the drum.
- A door off its track.
- A released door that drops hard when disconnected from the opener.
- Any repair that requires unbolting the spring anchoring hardware or the bottom roller brackets.
The line between these two lists is the tension system. Everything below the spring and cable line is mechanical risk. Everything above it, like sensors and adjustments, is low-risk troubleshooting. Respect that boundary and you’ll avoid the injuries and the expensive mistakes. We work on every brand of door and opener in the Glendora area, from LiftMaster openers to full garage door installations when a door has reached the end of its service life.
Common Mistakes to Avoid
- Replacing the sensors before reading the blink code. Four blinks means misaligned, not failed. If the LED on the receiving sensor flickers when you wiggle the bracket, the sensor is fine and the mount is loose.
- Adjusting the force dial without first confirming spring balance. If the spring is broken, no force setting will make the door function safely. You’ll mask the symptom, not fix the cause.
- Lubricating the opener’s drive chain with WD-40. It strips the existing lubricant and attracts dust. Use a penetrating solvent-free lubricant made for garage door systems.
- Continuing to use the door after it reverses. Every reversal cycle adds stress to the gear, the cables, and the springs. Diagnose first, cycle second.
- Ignoring a slow-moving door. It’s a warning sign that the spring is losing tension or the opener’s gear is wearing. Either way, waiting turns a small repair into a full replacement.
- Replacing the whole opener when the control board fails. On LiftMaster and Chamberlain models, the logic board is a replaceable module. A new board costs a fraction of a new opener and takes under an hour to swap.
- Tightening track bolts on an off-track door without supporting the door. You can shift the door enough to release a cable. The door must be secured first.
When to Call a Professional
If the door is off its track, the spring is broken, a cable is frayed or off the drum, or the door drops when you run the balance test, stop troubleshooting and call. These conditions involve high-tension components that can cause serious injury if handled incorrectly. The threshold is simple: if the fix requires touching anything connected to the spring or cable system, it’s a professional repair. Garage Door Service Glendora offers free estimates in Glendora, and our technicians work on all eight major brands including LiftMaster, Chamberlain, Genie, Clopay, Amarr, Wayne Dalton, Craftsman, and Raynor. Call (855) 382-3042 and we’ll diagnose the exact problem before any work begins.
Frequently Asked Questions
The most common cause is misaligned photo eye sensors, but broken cables, limit drift, and force sensitivity all cause the same symptom. In Glendora, expansive clay soil shifting the slab can misalign the track over time, which changes how the door travels and triggers false reversals. Check the sensor LEDs first, then look at the cables on each side before touching any settings.
Most repairs in Glendora run between $150 and $450 depending on the specific part and the door’s size and spring configuration. A sensor alignment is often under $100, a broken spring replacement typically runs $250 to $400 on a standard two-car door, and a logic board replacement can reach $300 with parts and labor. Call (855) 382-3042 for a free estimate over the phone and an exact price before any work starts.
Yes. Stand under the opener and watch the LED on the motor head. Count the blinks, then match the number to the chart for your brand. LiftMaster, Chamberlain, and Craftsman share the same code set. Genie uses a different pattern on its wall console. Telling us the blink count when you call cuts the diagnostic time in half.
No. Torsion springs hold enough energy to cause severe injury, and the spring must be wound and unwound with specific tools and techniques. Extension springs are equally dangerous if released under load. This is the one repair we always recommend leaving to a professional, regardless of experience level.
Cold temperatures thicken the lubricant on the rollers and hinges, which increases friction on the door. Glendora’s winter nights drop into the 40s, which is enough to make a noticeable difference on an older door that hasn’t been lubricated recently. Clean and lubricate the moving parts with a garage door lubricant, then check the force setting. If the door is still slow, a spring may be losing tension.
The opener brands we service most often in Glendora include LiftMaster, Chamberlain, Genie, Craftsman, and Raynor. Because we’re a multi-brand shop, we’re also set up to work on Clopay, Amarr, and Wayne Dalton doors. Whatever opener you have, we know it.
The Bottom Line
Garage door troubleshooting is about reading the signals the door and the opener are already sending you. The blink code tells you what the opener sees. The way the door moves tells you what the mechanical system is doing. The balance test tells you whether the springs are doing their job. Put those three sources together and you’ll identify the real problem every time instead of guessing. When the issue is inside the tension system, stop and call a professional. For everything else, a patient homeowner can usually make the adjustment themselves. If you’d rather have a pro handle the diagnosis, Garage Door Service Glendora serves Glendora with free estimates and upfront pricing on every repair. Call (855) 382-3042 and we’ll walk you through the symptom before we send a truck.
Written by the team at Garage Door Service Glendora, serving Glendora since 2014. For more guides & resources, visit our blog.
See the difference
 Before
 After
 Before
 After
 Before
 After